
Make your DTG/DTF business more efficient by optimizing your time, costs, and productivity.
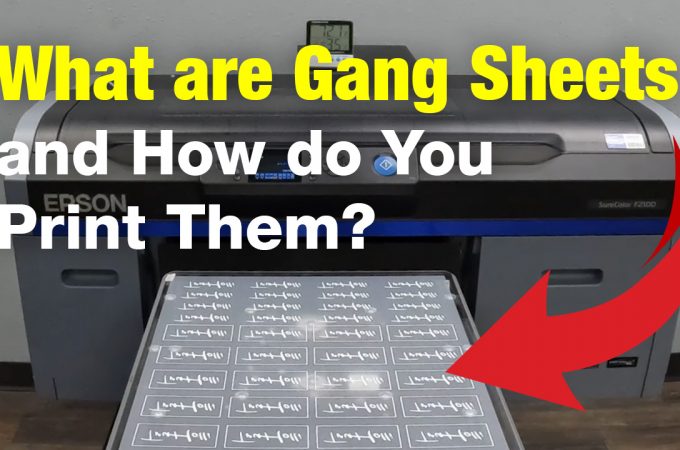
Gang sheets, they let you ramp up your workflow by pressing many images at once. Today, we’ll guide you through the process of making gang sheets on Garment Creator using the Epson SureColor F2100.
Step 1: Open Garment Creator
Begin by opening Garment Creator. Navigate to ‘File’ and locate the project or graphic you wish to work on for multiple prints. Typically, this involves a brand or company name for the chest and a personalized logo for the neck tag. Today, we’ll use the “True Holly” brand name for both.
Step 2: Adjust the Graphic Size
Ensure your graphic meets the customer’s specific size requirements. Remember, it’s easier to shrink a large image than to enlarge a small one. Position the graphic an inch away from both the top and bottom corners, providing ample space for handling the sheet post-printing.
Step 3: Layout in Garment Creator
Access the layout window by either double-clicking the graphic or selecting ‘Edit’ and then ‘Multiple Images.’ Here, you’ll arrange your images. For our purposes, we’re creating a gang sheet with repeated patterns of the same brand and name tags. Duplicate the image and arrange them as needed. You can align them manually and adjust the view settings like background and grid colors to suit your preference.
Step 4: Finalize the Layout
Once satisfied with the layout, press ‘OK’ to exit the layout window. You can now add different images if desired. To do this, press ‘OK’ at the bottom, returning to the main screen, or use the picture icon with the plus sign to load a different graphic.
Differentiating Neck Tags and Chest Logos
Distinguish between neck tags and chest logos by using images with or without a black frame, respectively.
Compatibility Note
This process can also be applied to the new SureColor F2270.
Step 5: Estimate with Job Estimator
Open Job Estimator to estimate the job. Despite a gradient design and multiple prints, the cost is only 39 cents for one milliliter of ink, thanks to the DTF (Direct-to-Film) printing method.
By using a gang sheet, you save time on pre-treating and curing, making the process more efficient. Load your film mat side up, securing it with heat transfer tape for easy removal.
By following these steps, you optimize both time and resources for a streamlined printing process. Happy printing!
0 Comments